Wednesday, November 30, 2011

DIY print gocco star skirt

Photobucket
Photobucket
Photobucket
Photobucket
Photobucket
Photobucket
Photobucket
Photobucket
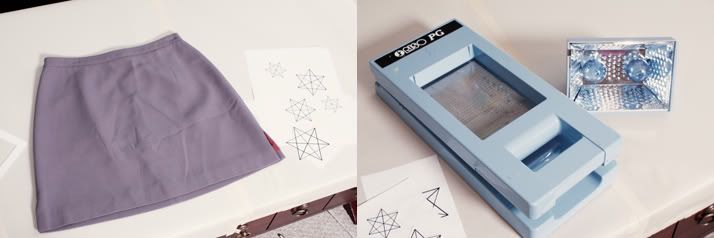
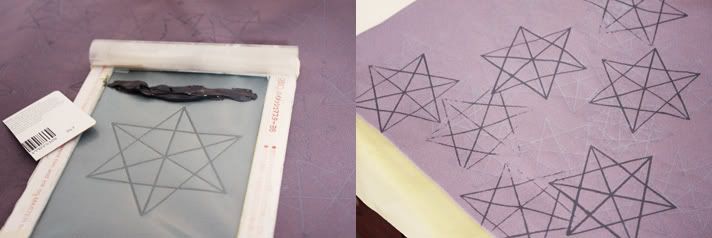
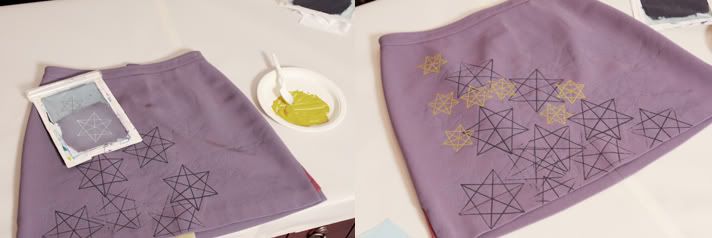
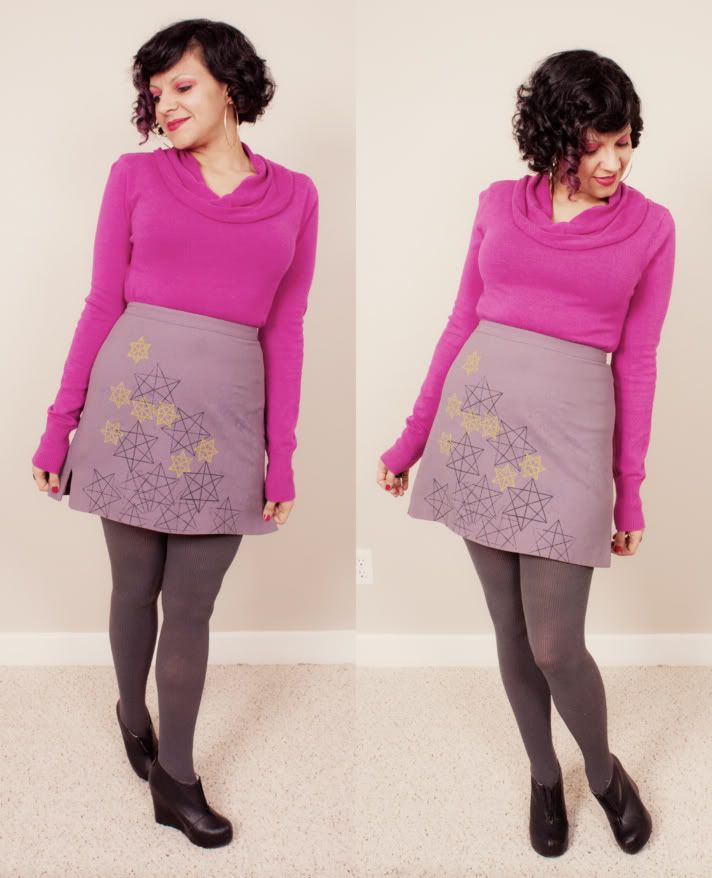
here are a few pics of my latest print gocco project - a nice but kinda boring thrifted grayish-purple mini skirt transformed into a custom piece featuring a random pattern of six pointed stars in three different colors & sizes.

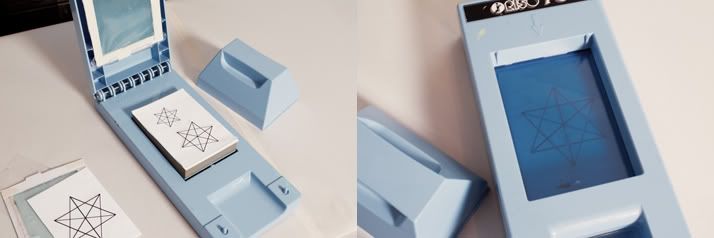
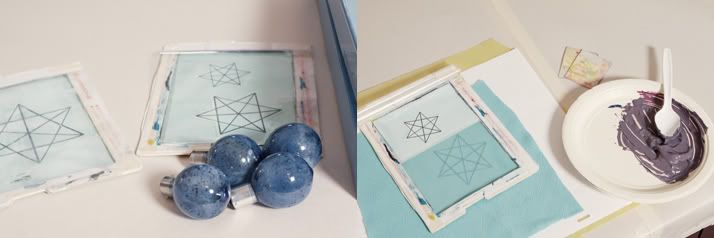
i snapped a few pics during the process this time to share with you. the first step was choosing which stars i wanted to use, cutting them out and burning them onto the screens. burning an image has never been quicker or easier than with the print gocco - the screens come pre-emulsified so there's no messy coating to do and images are burnt in an instant w/ gocco's high intensity bulbs - just push down and flash!...your image is now burnt and you're ready to print.

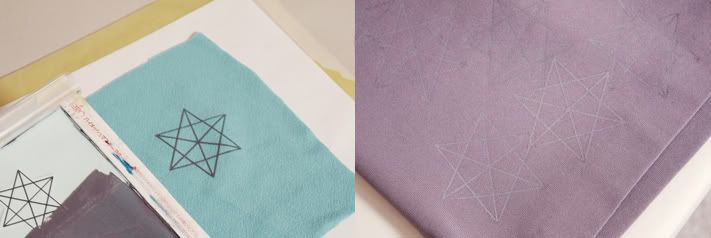
i've been wanting to play with the idea of white on white, black on black, etc for some time now so i mixed up a color as close as i could to that of the skirt and started with a base layer of almost transparent medium sized stars. they're subtle and don't photograph very well but give the skirt an interesting texture and added dimension it wouldn't have otherwise. i'm really excited to explore this idea of color on color further. next, i added some large dark gray stars followed by a scattering of a few small citron stars in a asymmetrical pattern meant to draw the eye upward and add the illusion of height.

i'm super pleased with how this skirt came out and even more so by how smoothly the entire process went. it was by far the most calm, enjoyable and mistake-free print session i've ever had and i can feel that i'm finally starting to feel comfortable with the process, which frees me up to concentrate on harnessing creative energy in the moment instead of having to constantly read the instructions to see what i'm supposed to do next or cleaning up ink that i've somehow smeared all over the place. my next diy project will be sewing a pleated skirt - i'm hoping to get started on one this weekend or next week. after i've got a few under my belt, i'll start experimenting with the print gocco again and making myself an entirely custom-made skirt from scratch. in the meantime, i'll be dusting off the old sketchbook (it's been way too long since i've drawn) and trying to come up with some cute designs for my next print project.

xoxo
 c. emilia 

Tuesday, November 29, 2011

curly hair care 101

Photobucket
learning to care for and love my curly hair has been a lifelong battle wrought with more frizz, hot ironing and awful haircuts than you can imagine. when i was younger, i would constantly straighten it in an effort to magically have the hair of  my dreams. really, all i managed to do was destroy it. later, in my frustration, i would end up just pulling my hair back most of the time which caused even more broken ends, damage & frizz, and ultimately made me hate my hair even more. 

over the past decade, i've been searching endlessly for the simplest, quickest way to have the healthiest, most beautiful, hassle-free hair possible. in essence, the goal was to essential do nothing to my hair (or next to nothing) and just have it be naturally amazing because i knew if the entire process took too much time and effort, i  probably wouldn't stick with it. over the years, these are the tricks & tips i've picked up and the things i've changed about my routine that have had a long-lasting effect on the health, shine and manageability of my hair. i hope some of these tips help to demystify the confusing & sometimes frustrating process of caring for curly locks!

  curly hair care 101  

1. use a non-toxic shampoo & conditioner w/out sodium lauryl salfate or sodium laureth sulfate - 
these chemicals dry out your hair & scalp and contribute to frizz, unmanageability and a lackluster appearance. i have been using jason 84% aloe vera shampoo & conditioner for a while now and absolutely love it. 

2. use paper towels to dry your hair instead of terry cloth towels; 
dry from the bottom up, scrunching curls up in the process - 
i got this tip from a salon academy student who explained that terry cloth is like velcro to curly hair and adds to frizz. i use viva paper towels to dry my hair since they're so thick & durable and hang them to dry after each use so i can use them more than once, like normal towels.

3. do yourself a favor and go to a hair salon that specializes in curly hair
the wisdom, enthusiasm and knowledge you will find there is priceless. you'll also find the best curl enhancing & defining products at a place like this. i've been going to ashley at above ground hair in ann arbor for almost a year now and have learned so much about caring for & styling my curly locks. 

4. shampoo 1-2 times a month AT MOST; use conditioner to "wash" hair every 2-3 days; 
optional: leave in conditioner - 
this is a hair industry trade secret and probably the best piece of advice i can give you & the one thing that will make the most difference in controlling frizz. it is a myth/misconception that you should be shampooing so often - this strips away all the natural oils that help to control frizz, which is basically your hair trying to suck moisture out of the air because it's so dry. to prevent dryness you need to keep all those natural oils. 

conditioner has enough astringent to "wash" your scalp & hair and rid it of excessive oils, hair products, dust, etc. every stylist has a huge 5lb tub of conditioner they go through on a monthly basis and one bottle of shampoo that lasts them a year - go ahead, just ask! i also leave a bit of the conditioner in my hair all day for added frizz control & manageability - work conditioner through hair and rinse for a moment until hair feels soft, then stop; dry & style as normal (add curl enhancing/defining cream when wet & work through hair, twirl curls w/ fingers to shape, then scrunch curls up.) 

5. never pull your hair back with bobby pins, barrettes or even hair clips to prevent 
broken flyaways and frizz -
 now that my hair is to a healthy point i enjoy the occasional straight look or pinning my hair back for a pompadour. but overall, i leave my hair completely alone and wear it down to let it breathe. i didn't put any pins or clips in it at all for a good 2-3 years while it was growing out and healing from all the damage i had done. leave your hair alone (don't touch it at all after it's styled) and give it plenty of conditioning and you'll see - your hair will never be happier!

xoxo
 c. emilia 

Monday, November 28, 2011

etsy xmas wishlist

all year long i've been adding items to my etsy "favorites" list in the hopes of someday, somehow, acquiring all of these beautiful things. i hadn't even thought of using it as a christmas wishlist until last week when my family started asking me about my amazon wishlist and whether it was up-to-date. i was shocked to see i had amassed a whopping 29 pages of favorites - almost 700 items - and really can't expect anyone to sift through all that stuff in an effort to find what i'm really hoping to find under the christmas tree this year.

after sorting through all my "must-haves" & weeding out the "sold" items here is what i was left with - my 2011 etsy xmas wishlist (from left to right:)

1 -   handsoap set - creepy & cool - 8 hands of different shapes & colors
2 -   in it together - digital print by ashley g and drew 
3 -   vintage holly hobbie sewing machine - black or baby blue
4 -   cloudy bear leggings by qooqoo fashion
5 -   costume party - 14x11 digital print by the black apple
6 -   the prince and the pauper - teal-green & copper merino wool yarn
7 -   black forest picnic paper doll set by wool and water  * OR *
8 -   little maple friends paper doll set by wool and water
10 -  kitty cat rings - black & ivory acrylic rings by iluxo

i hope everyone is busy getting their own christmas lists together & feeling the holiday spirit!

xoxo
 c. emilia 

Saturday, November 26, 2011

america's thanksgiving day parade

Photobucket
Photobucket
Photobucket
Photobucket
Photobucket
Photobucket
Photobucket
Photobucket
Photobucket
Photobucket
Photobucket
Photobucket
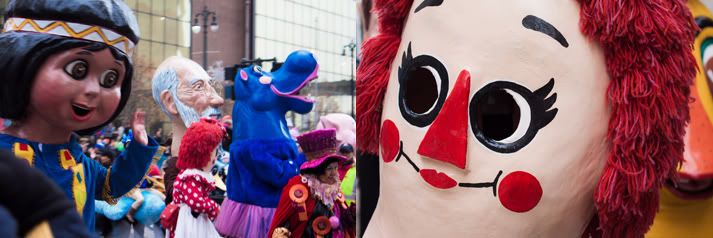
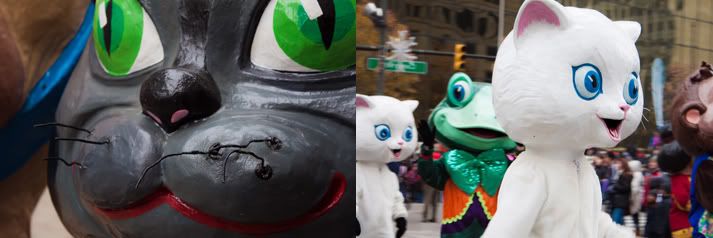
for the past few years, our eagerly anticipated holiday tradition around here has been attending america's thanksgiving parade in downtown detroit on thanksgiving morning. what a fabulous way to start off a day of celebration and thanks! i can't think of anything more fun than giant balloons, clowns, horses, unicycles, marching bands, floats w/ skateboard ramps and the big head corps - giant papier-mache head people - all parading down the street in gratitude & anticipation of the holiday season. 

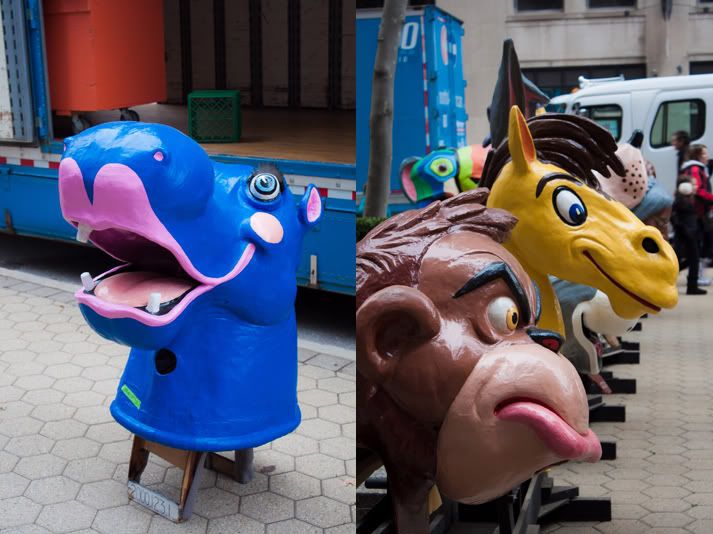
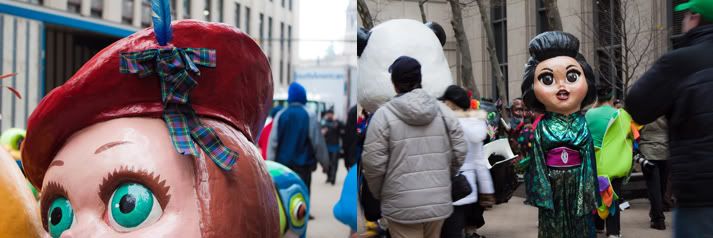
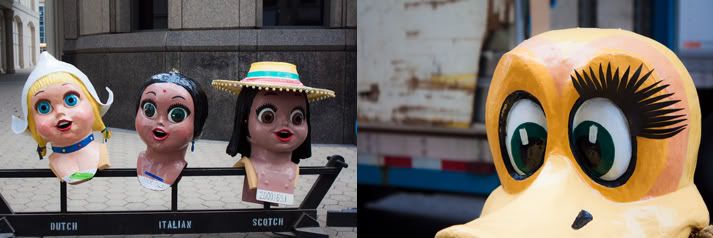
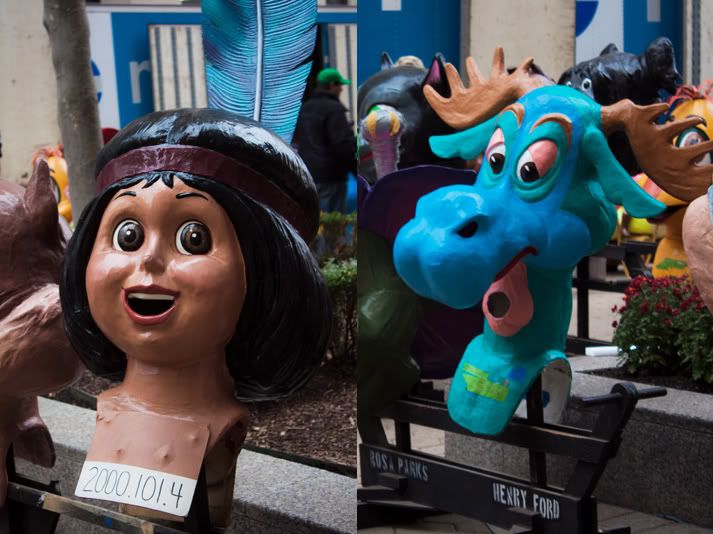
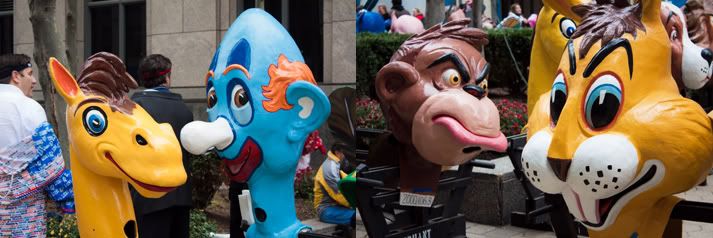
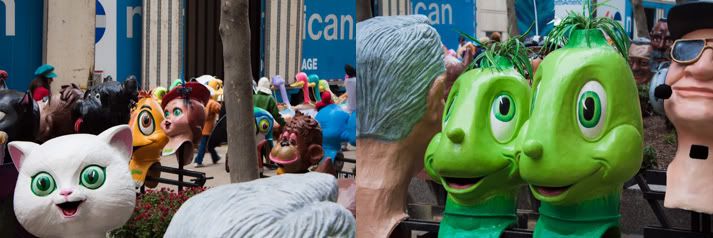
the thanksgiving parade is "a celebration of spirit and storybook wonder" and the parade company's world-renouned papier-mache head collection is pretty much the most amazing thing i've ever seen & why i look forward to going every year. here's a bit of background on the heads from the parade company website: "these colorful artifacts were originally acquired from artists in viareggio, italy with some dating back to the 1940s. the ever expanding collection of nearly 300 heads are restored by the seasoned artists at the parade company that have been trained by the talented artisans from viareggio."

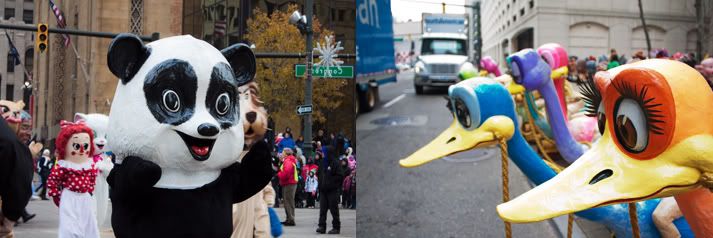
based on the last few parades, we knew where the papier-mache heads are stored afterwards so we strategically waited at the end of the route to take pics. i can't tell you how crazy it feels to see these guys coming around the corner - surreal & trippy doesn't even begin to describe it - and, i couldn't help but laugh uncontrollably as i took the parade pics. the big heads really come to life when worn and it's hilarious to see the interactions between the characters and parade-goers. above, are a few pics from the parade and some close-ups of the papier-mache heads taken after the fact. 

truly amazing, don't you think? i just love them to pieces!!

i hope everyone had a fantastic thanksgiving holiday!

xoxo
 c. emilia 

Wednesday, November 23, 2011

thanksgiving prep

Photobucket
Photobucket
Photobucket
Photobucket
Photobucket
i'm a busy little bee over here getting ready for thanksgiving!

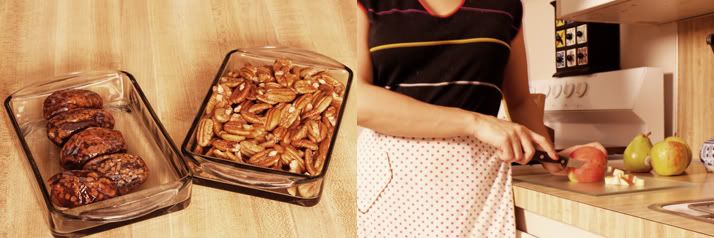
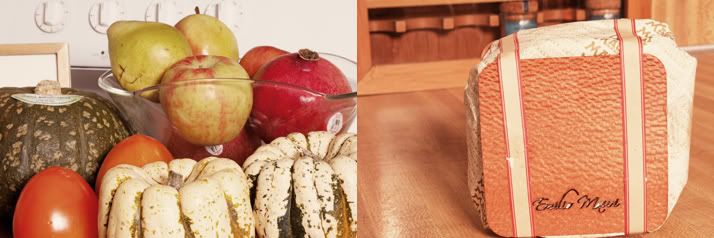
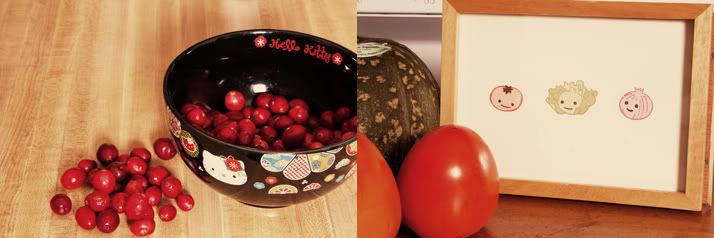
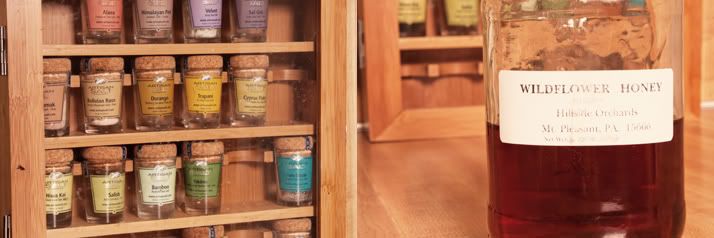
last year, i prepared an entirely raw thanksgiving dinner for 5 people all by myself. this year, i'm only in charge of a few dishes and the entire process has been so much more enjoyable! i'll be preparing both raw and gluten free items this year and wanted to share a few pics of ingredients i gathered around town yesterday. i'm wearing my favorite polka dot apron and am listening to my favorite music while i chop, blend & infuse my food with all kinds of love and gratitude. 

i'm feeling so incredibly warm and thankful tonight for all the wonderful things i have in my life - family & friends, adorable kitties, a cozy home, my health, an abundance of creative inspiration and true passion for my work. i feel incredibly blessed this thanksgiving holiday and hope you are feeling equally loved and supported by this amazing universe we live in. 

so, what will i be bringing to the thanksgiving feast? here's what's on the menu: mixed green salad w/ beets, pomegranate, goat cheese, thinly sliced red onion & candied pecans w/ a homemade balsamic dressing  honeycrisp apple, comice pear & cranberry compote  gluten-free kabocha squash pie  spiced persimmon pudding... yum! 

have a happy & safe thanksgiving!!

xoxo
 c. emilia 

Tuesday, November 22, 2011

inspiration - diy dress up e-course / red velvet shop

Photobucket
Photobucket
Photobucket
Photobucket
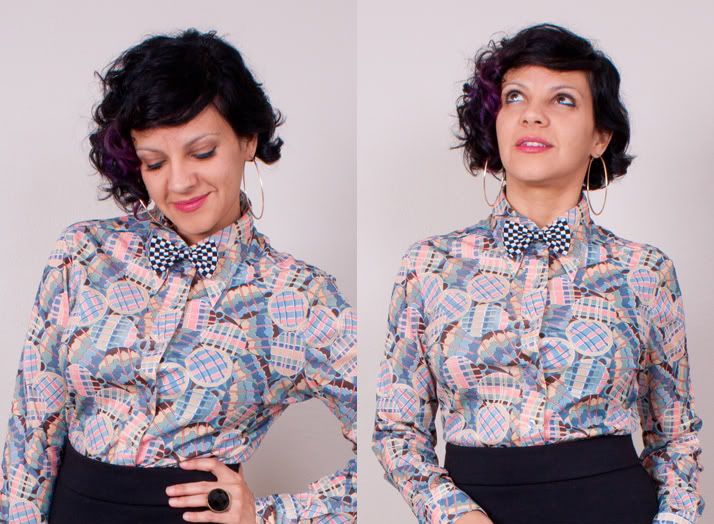
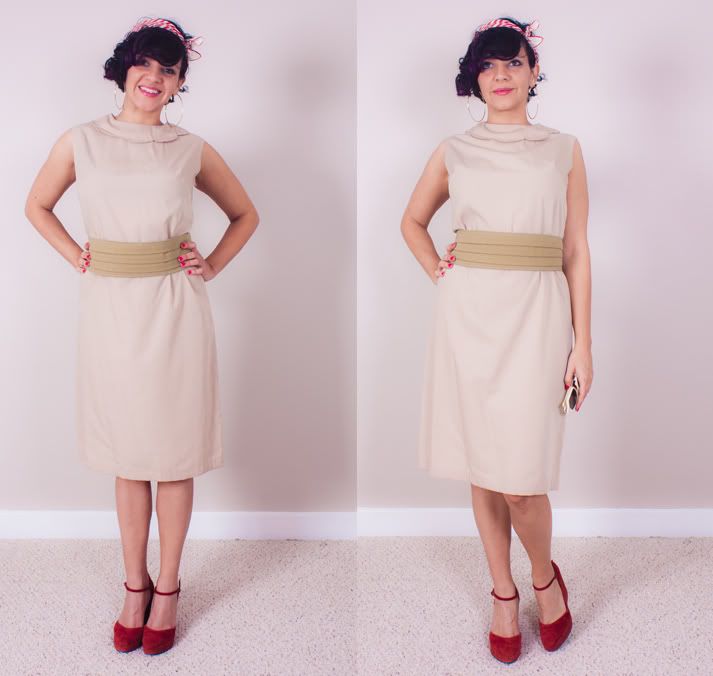
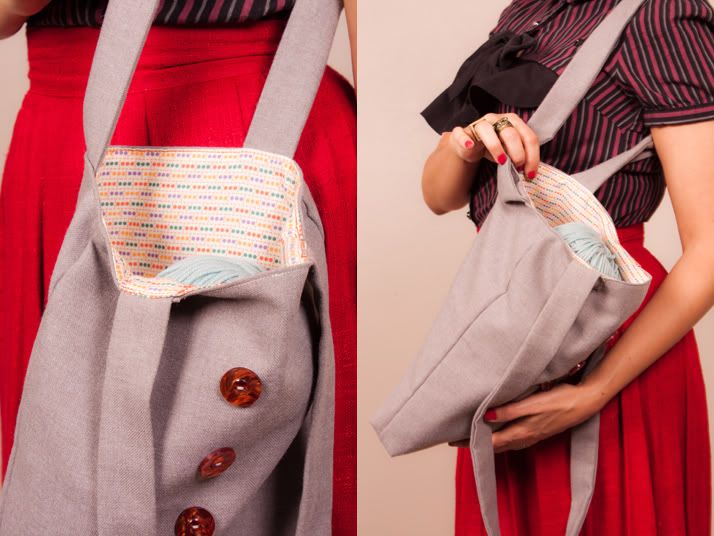
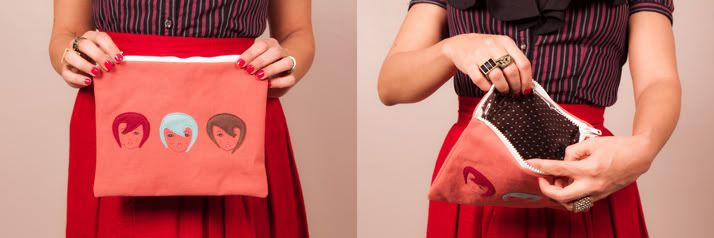
today i'm sharing a few of my completed projects from red velvet's diy dress up e-course

"diy dress up" is one of several e-courses offered by the red velvet team and is aimed at women who want to learn to sew their own clothes. it initially caught my eye because of its section on common alterations for vintage clothing but quickly won me over when i saw how many other great projects were included for such a reasonable price. elsie (a.k.a. a beautiful mess) and senior intern mallory developed this class for those learning to sew from a beginner level and those who feel they need a bit more practice (or a boos in confidence) before making the jump to patterns & garments. there are 17 projects in all which range from a simple topstitch bow & tote bag to more complex skirts & dresses. 

above, you'll see pics of my completed topstitch bow, cumberbun-inspired belt, magazine tote and vinyl-lined makeup bag. i really enjoyed all of these projects and ended up making two or three versions of each for extra practice and as gifts. the magazine tote and makeup bag are really great - i've made lots of tote bags before but never one specifically for carting around magazines and knitting/crochet materials! it gets used all the time now that i'm crocheting like mad. the makeup bag is all kinds of amazing - i love the lumi-inspired girls on the front and the spill-proof vinyl on the inside.

so far, the red velvet girls are right - my confidence goes up each time i complete a project and i feel much more capable of eventually making my own garments. i would definitely recommend this e-course to anyone wanting to take their sewing skills to the next level. i've taken sewing classes in the past and dabbled on my own for years but this e-course has given me a nice platform to practice new sewing skills & learn proper construction on my own time while making cute projects that i actually like. and, practice is what i've realized it all amounts to - lots & lots of practice!

xoxo
 c. emilia 

Monday, November 21, 2011

crochet monday

Photobucket
Photobucket
Photobucket
Photobucket
i hope everyone had a great weekend and managed to stay cozy! 

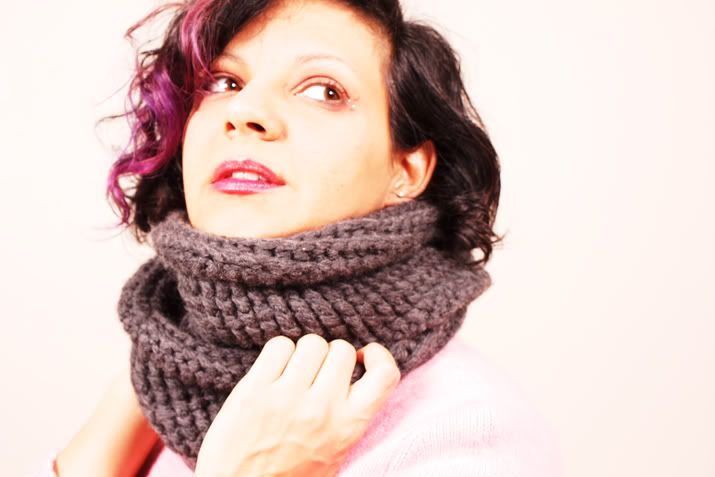
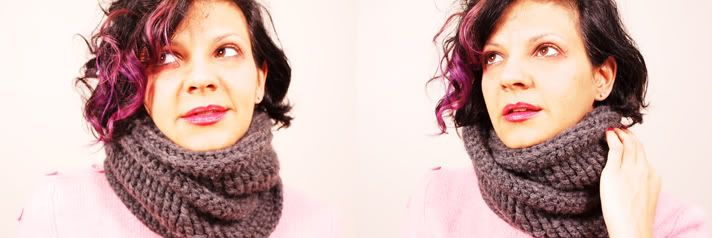
we had a few winter flurries around here and i was so happy to have finished my cowl neck scarf & revised bow headband before the northern wind hit. the charcoal cowl pictured above is my first attempt at a yokoo-inspired chunky cowl. i used hooked & chained's "mammoth cowl" pattern and splurged on a luxurious merino wool yarn blend - 98% merino wool / 2% polyamide. i made a couple of small mistakes at the very beginning but the design of the cowl makes them impossible to see. it was fun learning a new stitch - back post double crochet - and making something that actually took a couple of weeks to complete. what a gratifying feeling!

overall, i'm pretty happy with how it turned out. i was hoping for a much larger, chunkier cowl but i love how incredibly warm and compact this one ended up. next time, i'll make sure to add some length & width to this scarf in addition to using a larger hook (maybe a "Q" or "S" instead of an "L".) the stitches are so darn tight in this cowl there's no room to breathe - i've realized i'm a bit of an uptight crocheter and need to loosen up and relax so my projects turn out the right size! i actively worked on loosening up my stitches with the revised headband, also pictured, and am happy to say things are turning out much nicer. 

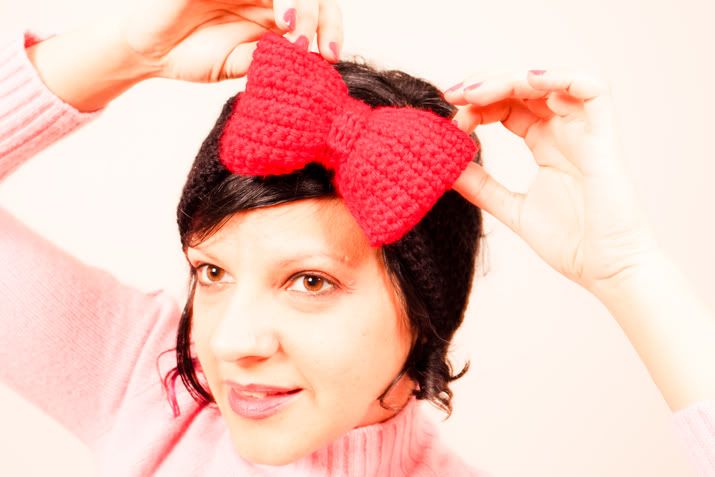
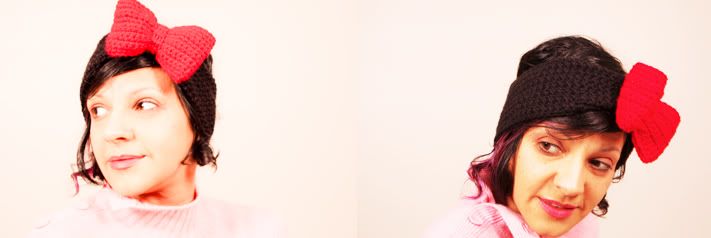
you might remember my first bow headband - i used an easy-to-follow people webs tutorial but ended up with a smaller bow than i'd hoped for (probably due to my uptight crocheting again!) for my revised bow headband, i switched yarn type and color and went with bernat satin yarn (100% acrylic) in black & red for a really strong hello kitty effect! i also added five extra stitches to the bow to make it extra big. i wanted the headband to just blend into my hair so that the oversize bow was even more accentuated and over-the-top and hello-kitty-like. i'm super thrilled with how it came out - this winter is going to be so much fun!

xoxo
 c. emilia 

Thursday, November 17, 2011

valentino: the last emperor

Photobucket
Photobucket
Photobucket
Photobucket
Photobucket
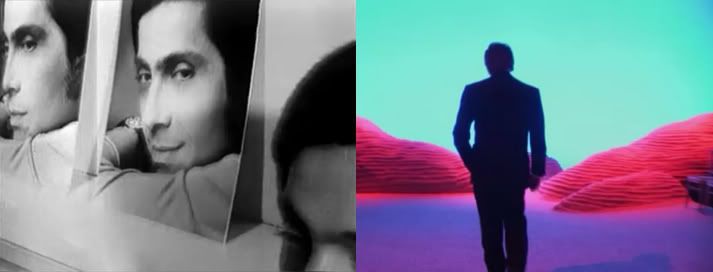
last night, i unearthed this fantastic documentary from the bottom of my netflix watch instant queue and just had to share a few images from the film. 

documentaries are one of my most favorite film genres period - add fashion, beauty & artistic passion and there's no way i'm not going to walk away completely awed and inspired. valentino: the last emperor was no exception. this intimate look at the legend's life work focuses on the day-to-day as he designs and shows his final two collections. the film culminates with his 45th career anniversary celebration in rome and gives a behind the scenes peek into both the daily operation of the valentino empire as well as the man & team behind the label. 

a true haute couture master, valentino is the last of a dying breed who learned the craft in the 1950's from designers who learned it in the 1920's. every garment in the entire history of the brand has been hand sewn - every sequin & bead hand applied, every stitch hand done by his amazing team of seamstresses. what a treat to glimpse into the seamstresses work room and model fittings as the garments evolve from vision to reality. overall, this a truly inspiring film that fans of fashion, beauty and creative vision don't want to miss!

xoxo
 c. emilia 

Wednesday, November 16, 2011

museum days

Photobucket
Photobucket
Photobucket
Photobucket
Photobucket
Photobucket
Photobucket
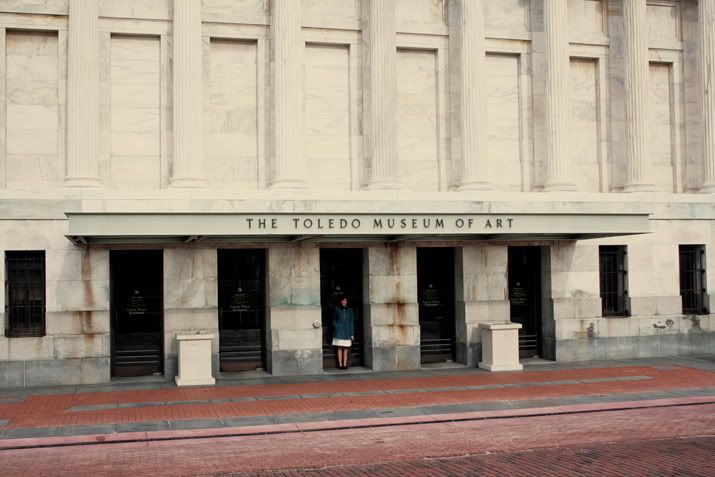
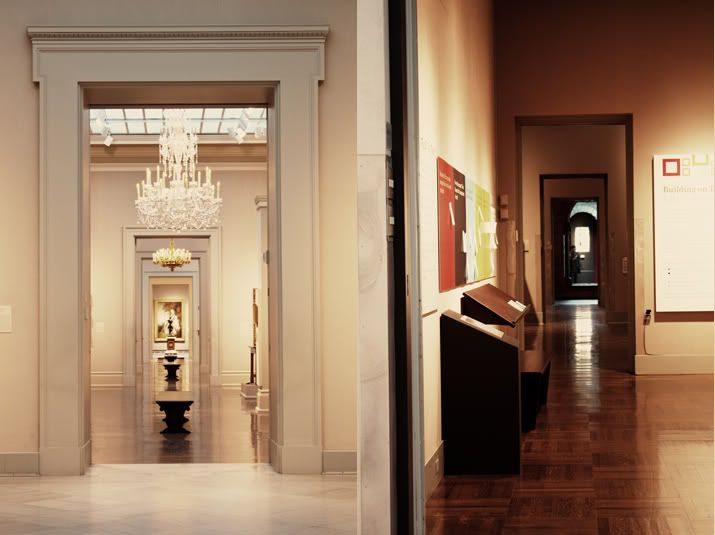
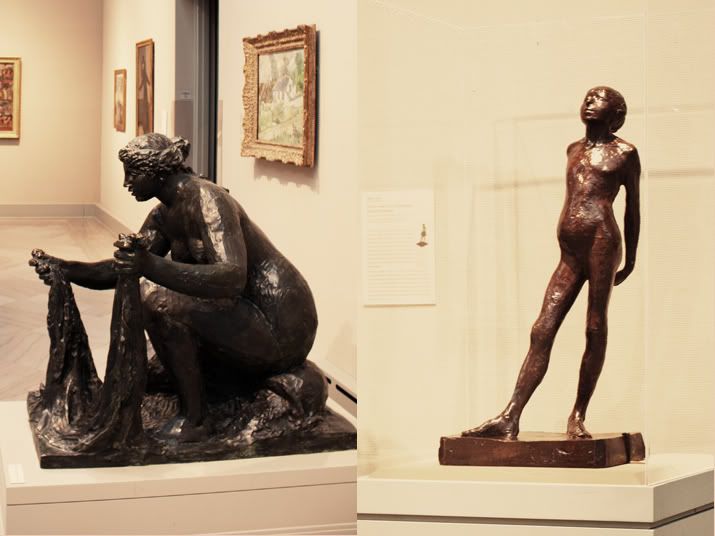
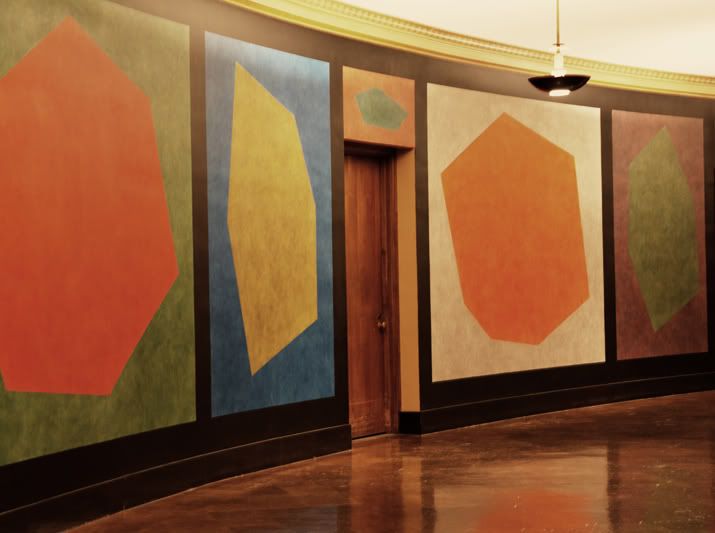
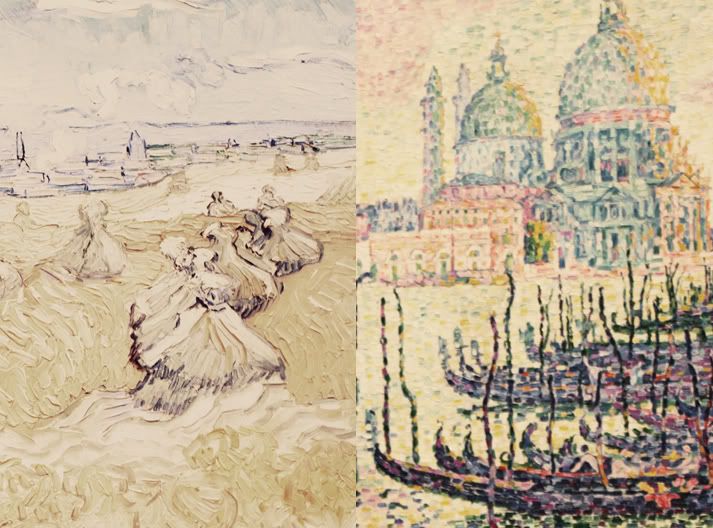
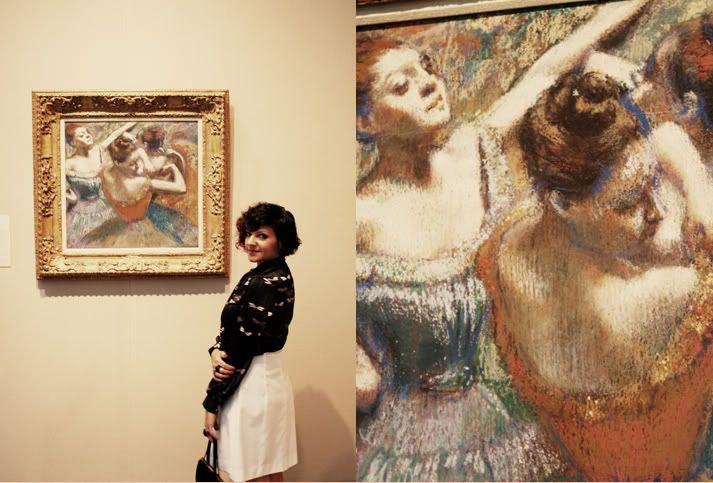
i recently spent the day wandering around the toledo museum of art in hopes of finding beauty and inspiration and, let me just say - the visit did not disappoint!

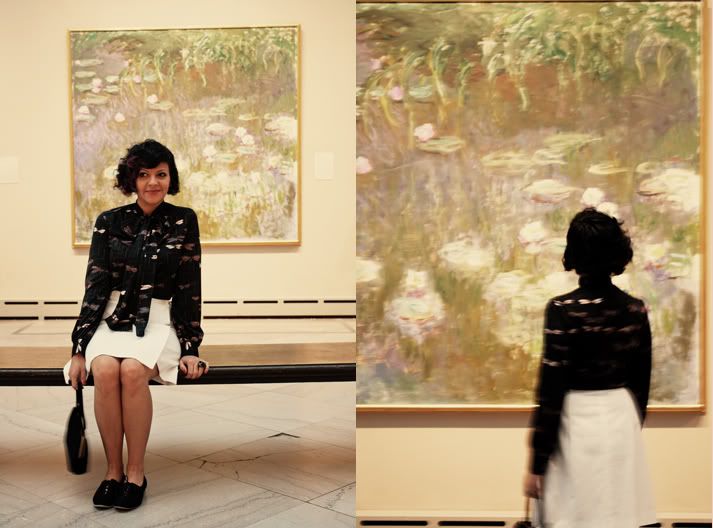
toledo's art museum is truly an incredible place - from the gorgeous architecture & sculpture gardens to its world-renowned permanent collection & glass pavilion the museum is most certainly the highlight of  the city. the list of important works by celebrated artists of every era and origin is overwhelming and i haven't made it anywhere near through the entire museum yet - thank goodness admission is free and i can visit whenever i want. today, i concentrated on the impressionists - my first art loves - and a special exhibition of miniature engravings & prints from the renaissance through modern day. the miniature print exhibition was fantastic - you had to use a magnifying glass to see the details in most of them - so fun! it boggled my mind to think of how the artists could have etched such tiny, tiny details in such a beautiful, precise manner and the storytelling aspect of the prints was incredibly interesting as well.

i wore a gorgeous vintage black designer blouse with dragon flies & huge bow tie collar that is now available in the shop. i paired it with my favorite vintage white summer skirt and was so happy to be able to wear it one more time before winter weather sets in. i am so grateful for days like this, when i can  surround myself with beauty all day long and refill my inspiration well. they're incredibly necessary and i feel creatively renewed.

xoxo
 c. emilia 

outfit details: vintage black blouse w/ dragon flies // vintage white skirt // vintage black suede oxford shoes // vintage black suede purse // rings - forever 21

Tuesday, November 15, 2011

inspiration - diy couture

Photobucket
Photobucket
Photobucket
Photobucket
images: diy couture

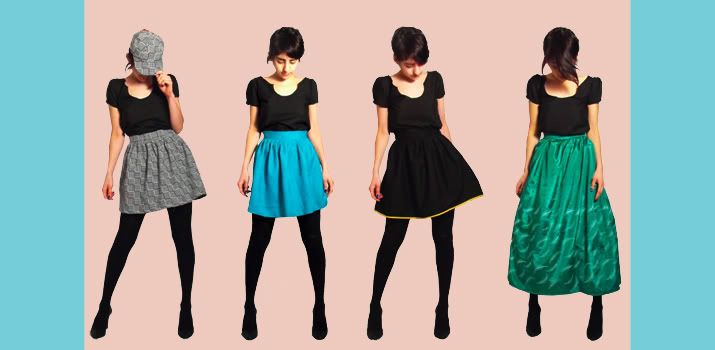
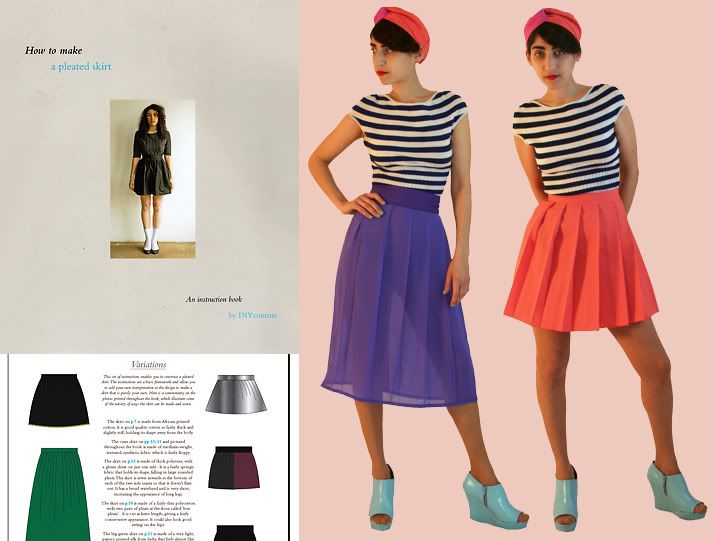
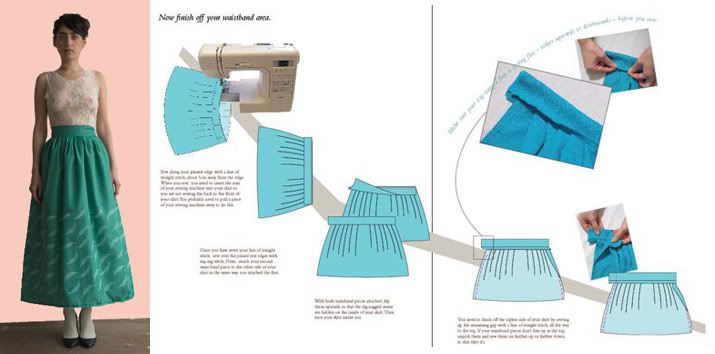
i recently ordered a copy of diy couture's book how to make a  pleated skirt, the first in a series of instructional books aimed at teaching the average person how to sew without using complex sewing patterns. 

the idea behind diy couture is to make the reality of constructing unique, personally fitted clothing accessible to anyone. easy-to-follow diagrams and photos offer simple visual instructions for garments that can be endlessly reinvented in a million different ways. for instance - designing your own pleated skirt means you can play with the length of the skirt, number of pleats, width of the waist band, and weight of the fabric (stiff & puffy vs. draped & flowing) on top of experimenting with stripes, blocks of color and pattern. the possibilities really are endless!

i've been brushing up on my beginner-level sewing techniques recently and am so ready to move on past tote bags & headbands to intermediate-level skirts, shirts and dresses. i've been working through the projects in red velvet's diy dress up e-course and am slowly seeing improvement as the projects get more and more complex (i will share pics of my progress so far next week.) but, as soon as my diy couture book arrives i think i'm going to have to switch gears & give the pleated skirt a shot. i am swooning over the idea of using custom printed fabric once i get the technique down. super exciting stuff!!

xoxo
 c. emilia